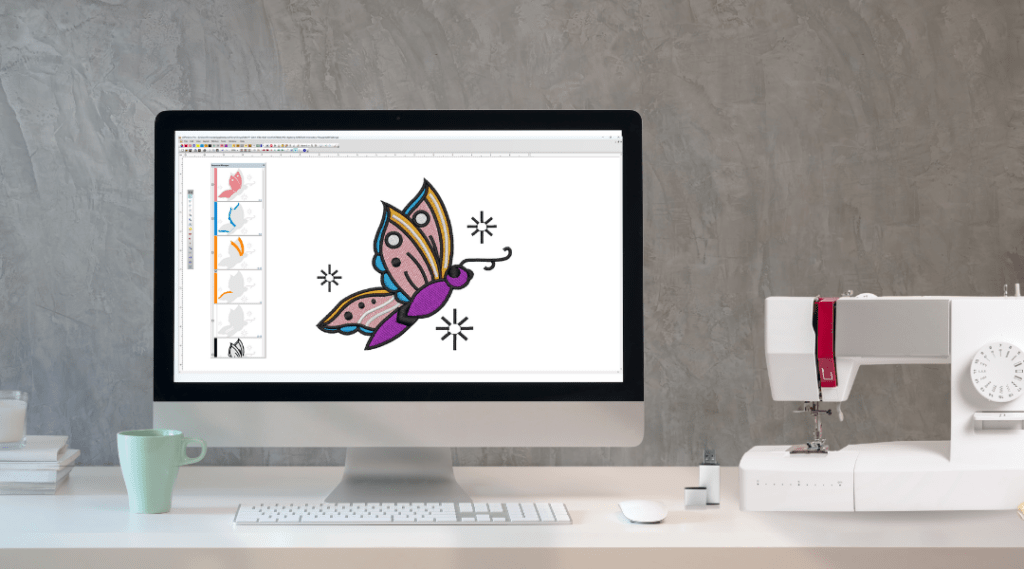
Step-by-Step Sharing Tips Guide: How to Transfer Your Embroidery File Using A USB

1. Open the Email with the Attachment:
– Access your email client (like Gmail, Yahoo, Outlook, etc.).
– Locate and open the email that contains the embroidery file attachment.
2. Download the Embroidery File:
– Hover over or click on the attachment (it might have an extension like `.pes`, `.jef`, `.dst`, etc., depending on the format your machine accepts).
– Click on the “Download” or “Save” option. This will typically save the file to your computer’s default download folder, unless you specify otherwise.
3. Insert Your Flash Drive:
– Plug your USB flash drive into an available USB port on your computer.
– Wait for the computer to recognize the drive. You should see a notification or the drive will appear in your file explorer.

4. Transfer the File to the Flash Drive:
– Navigate to where the embroidery file was downloaded (commonly the ‘Downloads’ folder).
– Right-click on the embroidery file and choose ‘Copy’ or simply drag the file.
– Go to ‘This PC’ or ‘My Computer’ and open the flash drive (it might have a name like “USB Drive” or “Removable Disk”).
– Inside the flash drive, right-click on an empty space and choose ‘Paste’ or simply drop the dragged file to copy it to the flash drive.
5. Safely Eject the Flash Drive:
– Once the file transfer is complete, it’s essential to safely eject the flash drive to prevent data corruption.
– Close any open windows related to the flash drive.
– Click on the USB or eject icon in your system tray (usually located in the bottom right corner of your screen) and select the option to eject the flash drive.
– Once you receive a notification saying it’s safe, you can remove the flash drive from the USB port.
Load the Embroidery File onto Your Embroidery Machine:
– Ensure your embroidery machine is turned off.
– Insert the USB flash drive into the USB port on your embroidery machine.
– Turn on your embroidery machine.
– Navigate to the USB/external input option on your machine’s screen or control panel. The exact steps for this will vary based on your machine’s brand and model.
– Locate and select the embroidery file you transferred to the flash drive. The machine should recognize the format if it’s compatible.
– Follow your machine’s instructions to load or open the design and start embroidering!
This guide provides a general procedure, and the exact steps might differ slightly depending on the device or software you’re using. Always refer to your embroidery machine’s user manual for specifics.
PRO TIP: For the most accurate instructions on transferring files from your computer to your embroidery machine using a USB, make sure to consult your machine’s manual.
