
Embroidery Tips for Beginners:
Have you ever considered starting a new hobby or business with machine embroidery, but just don’t know where to start? I love art and being creative. I started my artistic journey over 15 years ago and spent that time perfecting my skills in graphic design. Graphic designers constantly get exposed to a bounty of creative media. Designers (like me) sail across the diverse sea of media to visually communicate messages, evoke emotions, and engage audiences effectively. We must often adapt our skills and creative approaches to suit each customer’s requirements and constraints. In my 15+ years as a graphic designer, I’ve found many ways to bring these concepts and ideas to reality with one of my biggest influences being in apparel.
Most of my design career has focused on screen printing and vinyl work. I had a basic understanding of what embroidery was. However, I was not entirely sure how much goes into it. That is until I had the fantastic opportunity to work here at PRO digitizing. Now, I know plenty of print media, but knew this new world of needle and thread was going to take some time and patience. Like many of you, I thought, how do I even start to understand this transition? First, we need to ask the age-old question…
What is Embroidery?
Embroidery has been around for as long as humans have been creative. It is a decorative and artistic craft that embellishes fabric or other materials by stitching various designs, patterns, and images using specialized threads, needles, and techniques. This craft has been known to many cultures worldwide for centuries. Works in China have been dated around 30,000 BC (Wow, that’s old)!
This intricate needlework can be done by hand or with computerized embroidery machines. This allows for the creation of intricate and beautifully detailed designs. It has a rich history and is appreciated as a traditional folk art and a contemporary form of creative expression.
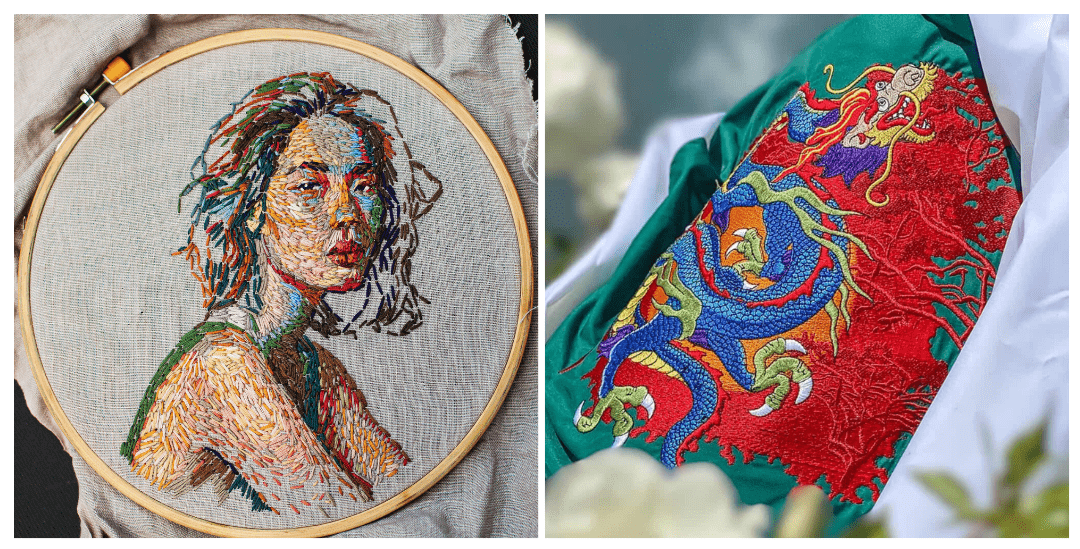
Left to Right ( Hand embroidered portrait, Dragon done by PRO digitizing using an embroidery machine)
Nowadays, embroidery can be found on a variety of apparel. This ranges from hats, polo shirts, sweatshirts, gym bags, etc. It can be a powerful marketing source as well as a personal creative touch for artists like myself. In most cases, it can withstand the test of time compared to conventional screen printing.
Okay, so we understand what embroidery is and what it is primarily used for, so…
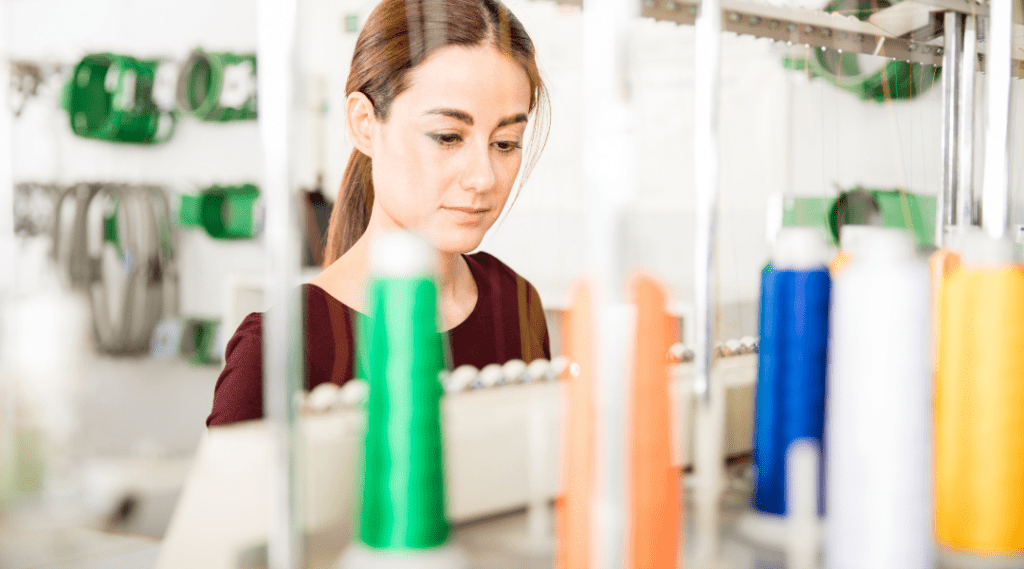
What Do I need to begin?
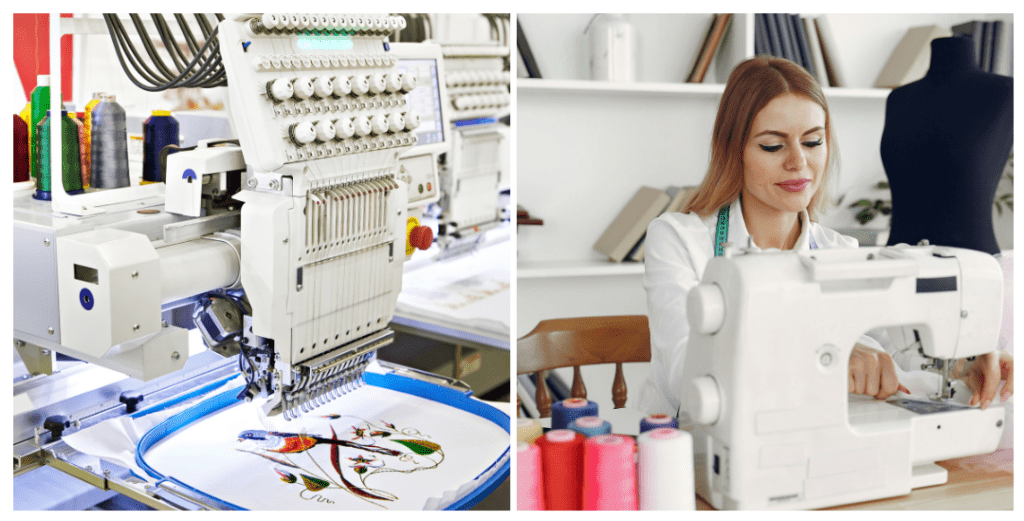
Embroidery Machine: Embroidery machines range in all shapes and sizes. They can range from single-head, single-needle desktop machines to large industrial multi-head 18-needle machines. Modern embroidery machines require a specific “digitized” file format. This is how the machine can interpret stitch direction, density, and the type of stitch required for your design.
Embroidery Thread & Needles: Embroidery needles are typically thinner and have a larger eye than standard sewing needles. Needles meant for machine embroidery will also have the eye closer to the needle’s tip. The needle size will depend on the fabric and thread you’re using. Embroidery thread is sometimes called floss, and comes in various colors and types, including cotton, silk, and metallic. It is important to learn the variations of needles and threads, and then memorize what their purpose is. Choose your needle and thread combos correctly to optimize the results of all your embroidery projects.
Embroidery Hoop: This is a square, circular, or oval frame with three parts that hold your fabric taut. It is comprised of an inner hoop and an outer hoop which are tightened together by an adjustable screw. These hoops come in various sizes depending on what you’ll be sewing on. Choose the appropriate one that fits your project, and when hooping, make sure your fabric is taut between the hoops to prevent puckering, fabric movement and to ensure a straight and successful design. Hooping is one of the trickiest, yet most important aspects of creating a successful design when beginning in machine embroidery. Don’t be discouraged, and remember…practice, practice, practice!
Backing Material (optional): Most projects require a backing material, like interfacing, to stabilize the fabric. This also provides an extra layer of fabric to keep the thread nice and taught. There are different types of backing materials, each with their own purpose. Just like with your needles and thread, it is important to become with the different types of backing and their purpose. Using the wrong backing on a project can affect the quality of your final sew-out.
Tools: Machine embroidery will introduce you to all these little tools to assist you in your projects, each with its own purpose. For starters, you’ll need different pairs of sharp scissors, again, each one serving a different purpose. These different scissors can be used for cutting thread, trimming jump stitches, trimming off backing, or removing excess fabric when creating applique designs just to name a few. Each type of scissor can be a different size, or shape, depending on what it is needed for.Another crucial tool will be a pair of needle nose pliers or tweezers which will help switch out your needles, grab thread, or remove obstructions that may get in the way of your design.
Once you have these basic supplies, you can learn and practice various embroidery stitches to create beautiful designs. As you gain experience, you may want to invest in additional specialty threads, fabric types, and specialty tools to enhance your embroidery skills and tackle more advanced projects.
Sewing out your design
Step 1. Gather Supplies: Before you begin, ensure you have all the necessary supplies, as mentioned before. This includes embroidery fabric and appropriate backing, an embroidery hoop, needles, thread, scissors, your chosen design or pattern, and any optional items you may need.
Step 2. Choose and Prepare Your Fabric: Select an appropriate fabric and backing for your project and cut them to the desired size, slightly larger than your selected hoop. Get your hoop ready by hooping your fabric and its backing.
Step 3. Select a Design: Choose a design or pattern for your embroidery. You can find designs and patterns in books, online, or create your own. Keep in mind that modern-day embroidery machines require a digitized file format, so send PRO digitizing your design and have it converted into a readable file format for your machine. If you do not have a specific design in mind, you can always select a FREE design from our library here at PRO digitizing.


Step 4. Transfer the Design: As mentioned, modern-day embroidery machines utilize a “digitized” file format. This digitized file has the required specifications and measurements for your design so that the machine can read it in its own language. Most of the time, a USB flash drive can be used to transfer your design from computer to machine.
Step 5. Prepare the Hoop: Separate the two parts of your embroidery hoop and place the backing and fabric over the smaller hoop. Adding an extra layer of backing material will ensure structural stability if needed. Make sure the fabric is flat and smooth, then place the larger hoop over the fabric and tighten the screw to secure it. Before tightening the screw all the way, the fabric should be stretched evenly without wrinkles and made taut. When placing the hoop onto the embroidery machine, ensure that the hoop is placed correctly and locked in place. Before starting the machine, always make sure that there is no fabric caught under the hooped fabric between the bar plate and the hoop. This can happen easily when embroidering any kind of double-sided product, like a shirt or short.
Step 6. Thread the Needle/Tension: Thread your embroidery needle with a hefty length of embroidery thread. Preferably, a spool is best for this type of application. Ensure you follow your machine’s thread path to avoid any breakage. Setting up your thread colors to the appropriate sequence during this time is good practice. Also, always test your tensions before sewing a final product. Tensions will vary depending on the type of thread being used.
Step 7. Start Stitching: The most important tip to mention before stitching your design is to always trace your needle path before you start sewing. Ensuring you have a clear path in your sewing space will prevent the needle from hitting the hoop and potentially causing great damage to your machine. Once you are ready to start sewing your design, the only thing left to do is monitor the progress of the embroidery. If you are timing your sew-out, keep in mind, designs with a lower stitch count will have a shorter sewing time than those with a higher stitch count. Also remember that the needle’s rpm speed will also affect how quickly your design sews out.
Step 8. Mission Accomplished-Remove from Hoop: Remove your hoop from the machine frame and loosen the screw on the embroidery hoop and carefully detach your fabric from the hoop. Trim any excess thread as well as any excess backing that was used. Finally, press your finished embroidery if necessary to remove any wrinkles caused by the hoop.
Congratulations! You’ve completed your embroidery project. With practice, you can explore more complex designs and stitches to create beautiful and intricate embroidery pieces.
Learning machine embroidery takes time and practice. This article is just a short summary of an intricate process. There are many factors in machine embroidery that can help you or hinder you. If you are just starting in this exciting world of embroidery decoration by machine, I encourage you to do as much research as possible, and always feel comfortable in reaching out to our experienced digitizers here at PRO digitizing for tips, tricks, and direction. Happy Stitching!!!
 My name is Isaac R. I am a San Diego, born and raised native with over 15 years of design experience. My design background consists of vector graphics, screen printing, vinyl, animation, and branding. On my free time you’ll find me training in Muay Thai, hiking with my pups, playing music, designing freelance, and riding my skateboards.