Stitch Types 101: Everything You Need To Know
Embroidery digitizing is the art of turning designs into stitch-ready files for embroidery machines. It’s not just about creating beautiful designs—it’s about using the right stitch types to ensure the design sews out perfectly on your machine. Understanding these stitches will help you get the most out of your projects and communicate effectively with your digitizer.
Here’s a detailed guide to the most common stitch types and why they’re essential to your embroidery success.
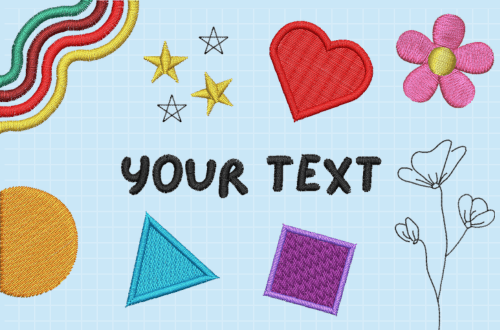
1. Satin Stitch (Column Stitch)
Satin stitches are smooth, shiny, and elegant, making them one of the most popular choices in embroidery. These stitches run thread side by side, creating a polished finish that stands out.
When It’s Used:
- Text and lettering (especially small to medium-sized fonts)
- Borders and outlines for a clean edge
- Curved and intricate shapes that require a premium look
Why It’s a Staple:
Satin stitches are ideal for designs with widths up to 12mm. They provide a luxurious appearance, but if used for larger areas, they may cause puckering or looping. That’s when a fill stitch comes in handy to avoid stitch instability.
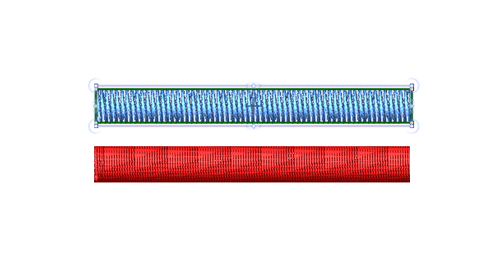
2. Fill Stitch (Tatami Stitch)
Fill stitches are used to cover larger areas of a design with a uniform texture. Unlike the smoothness of satin stitches, fill stitches offer a more solid and structured look.
When It’s Used:
- Filling backgrounds or large shapes
- Logos and patches with bold, solid areas
What Makes Them Special:
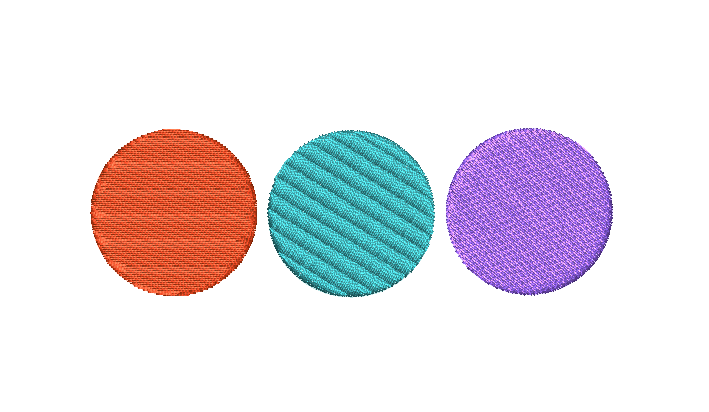
Fill stitches can be customized by adjusting their density, angle, and patterns. This versatility allows you to add dimension, reduce stiffness, and create unique effects, like gradients or textured finishes.
3. Running Stitch (Straight Stitch)
The running stitch is simple but incredibly versatile. It’s a single line of thread used for both functional and decorative purposes.
When It’s Used:
- Outlining designs
- Adding delicate details or accents
- Underlay (a foundation layer that stabilizes top stitches)
Why It’s Essential:
Running stitches are the backbone of many designs, connecting different elements and creating subtle detail. However, they need to be secured properly to prevent unraveling.
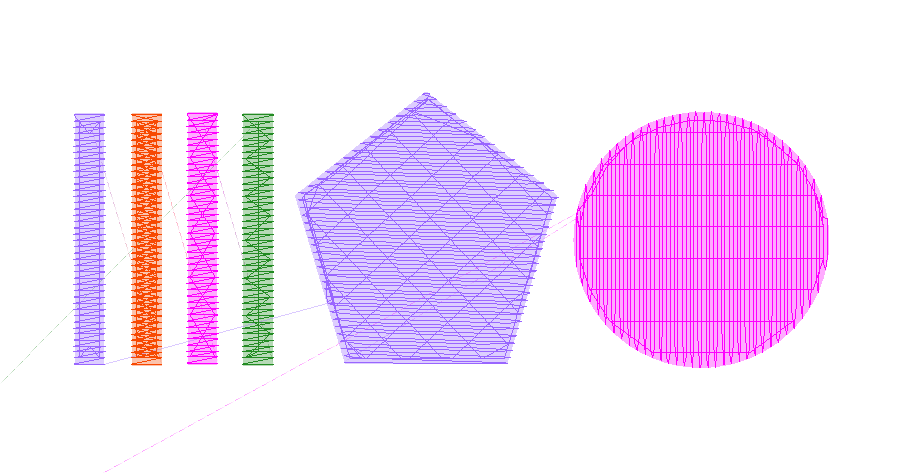
4. Underlay Stitches
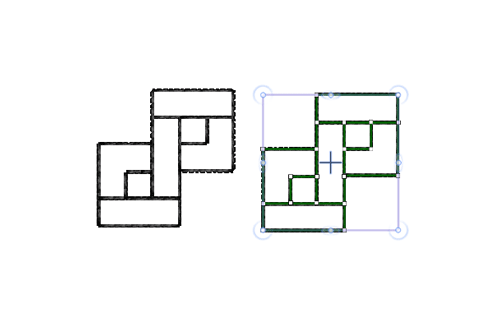
Underlay stitches are often overlooked because they’re hidden in the final design, but they’re critical for creating high-quality embroidery. These foundational stitches stabilize the fabric and ensure top stitches look smooth and even.
Types of Underlay Stitches:
- Zig-Zag: A looser pattern that provides support for medium-density areas.
- Fill Underlay: A grid-like pattern used under large shapes or fill stitches.
Why They’re Vital:
Underlay prevents puckering, distortion, and thread breaks, especially on stretchy or delicate fabrics. Without proper underlay, even the best designs can look uneven.
5. Appliqué Stitches
Appliqué involves attaching pieces of fabric to a base material, creating bold designs with fewer stitches. It’s secured with satin or zig-zag stitches, giving it a clean finish.
When It’s Used:
- Multi-layered designs
- Large areas requiring a lighter stitch density
What You Need to Know:
Appliqué designs require placement stitches to show where the fabric goes and tack-down stitches to secure it before adding the final border. This reduces overall thread use and machine wear while allowing for creative layering.

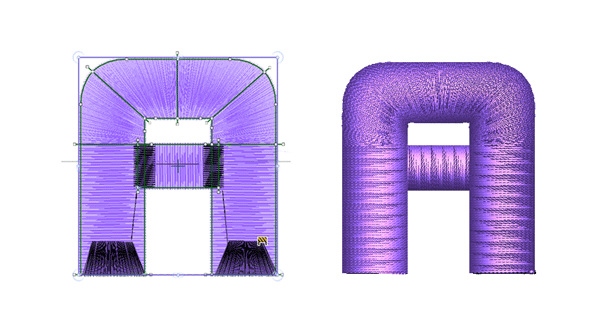
6. 3D Puff Stitches
3D puff stitching creates raised, dimensional designs by sewing over foam. It’s commonly used for bold lettering or logos, especially on hats.
When It’s Used:
- Caps, hats, and thick fabrics
- Designs that need extra dimension
What You Need to Know:
Digitizing for puff embroidery requires tight, dense stitches to compress the foam completely. This ensures a clean, raised effect without loose edges.
Why Stitch Types Matter
Each stitch type serves a unique purpose in embroidery. Understanding these terms helps you work with digitizers to ensure your designs are tailored to your machine, fabric, and project goals.
For example:
- Need bold, polished text? Choose satin stitches.
- Filling in a large shape? Use fill stitches.
- Adding delicate details? Go for running stitches.
We’re Here to Help with Your Embroidery Projects
Stitch types might sound technical, but that’s where we come in! At Pro Digitizing, we specialize in creating custom embroidery files that are optimized for your machine and fabric type. With over 20 years of experience, we ensure your designs look great and sew out perfectly every time. Ready to get started? Contact us today and let us bring your vision to life!
