3D Puff Embroidery 101: Everything You Need to Know
3D puff embroidery is an eye-catching technique that adds depth and dimension to embroidered designs, making logos and lettering pop with a raised effect. This method is particularly popular for caps and jackets, giving a nice, bold look. Whether you’re a beginner or an experienced embroiderer, this guide will cover everything you need to know about 3D puff embroidery, from materials to expert techniques.
What is 3D Puff Embroidery?
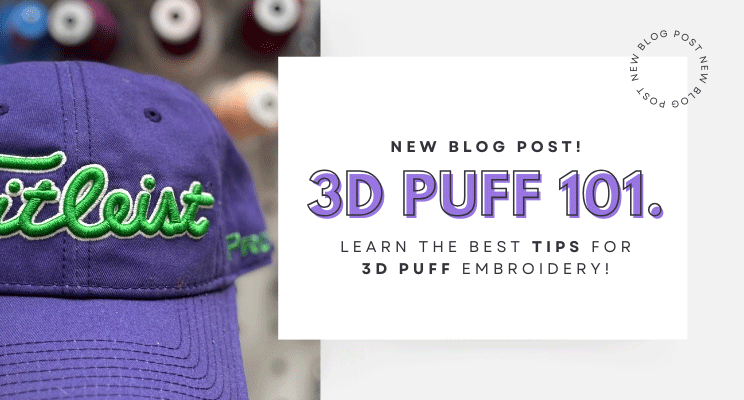
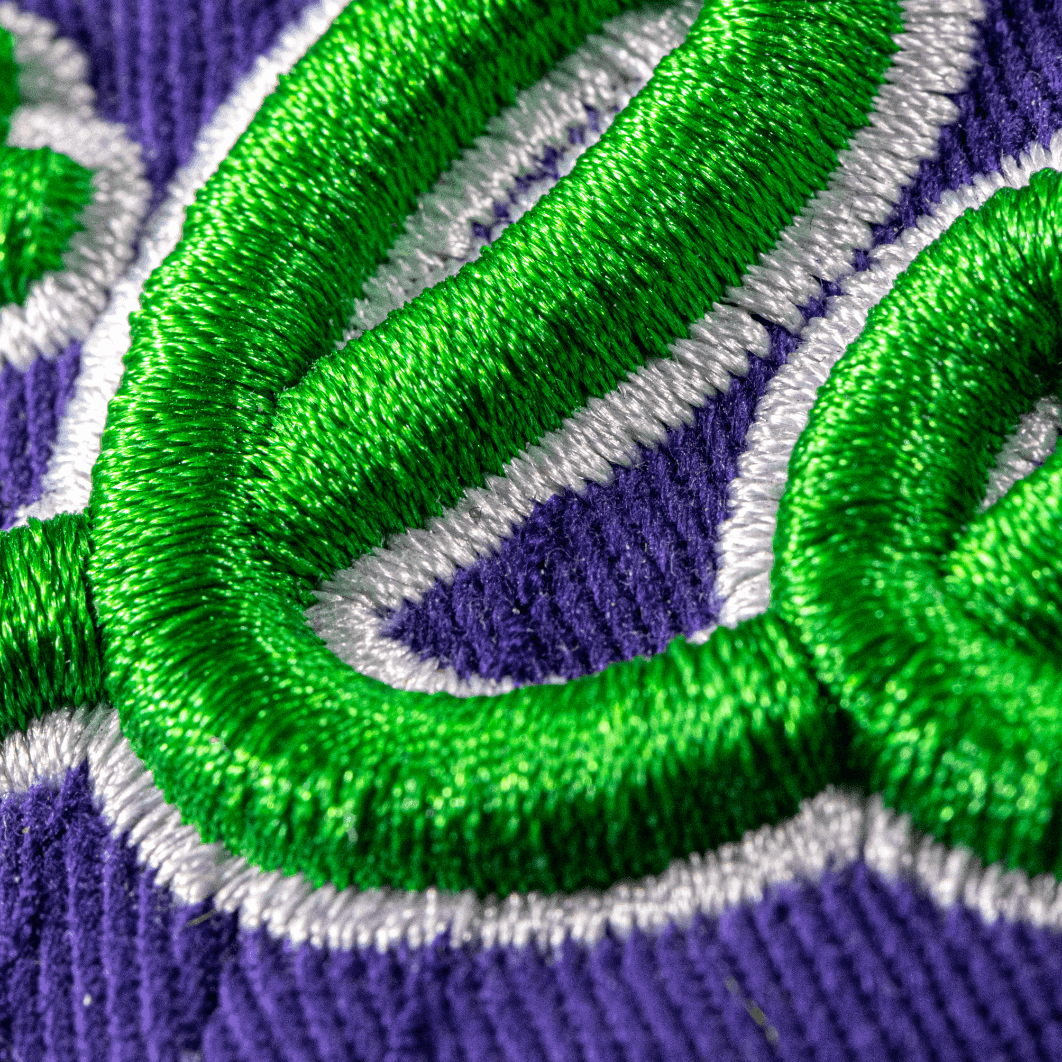
3D puff embroidery is a technique in which specialized foam is placed under the embroidery stitches, causing the design to rise above the fabric surface. Unlike traditional embroidery, where stitches lay flat, 3D puff adds volume, making the design “pop.” This technique works best with bold fonts and simple shapes, as intricate details can get lost in the raised effect.
What Designs Work Best For 3D Puff?
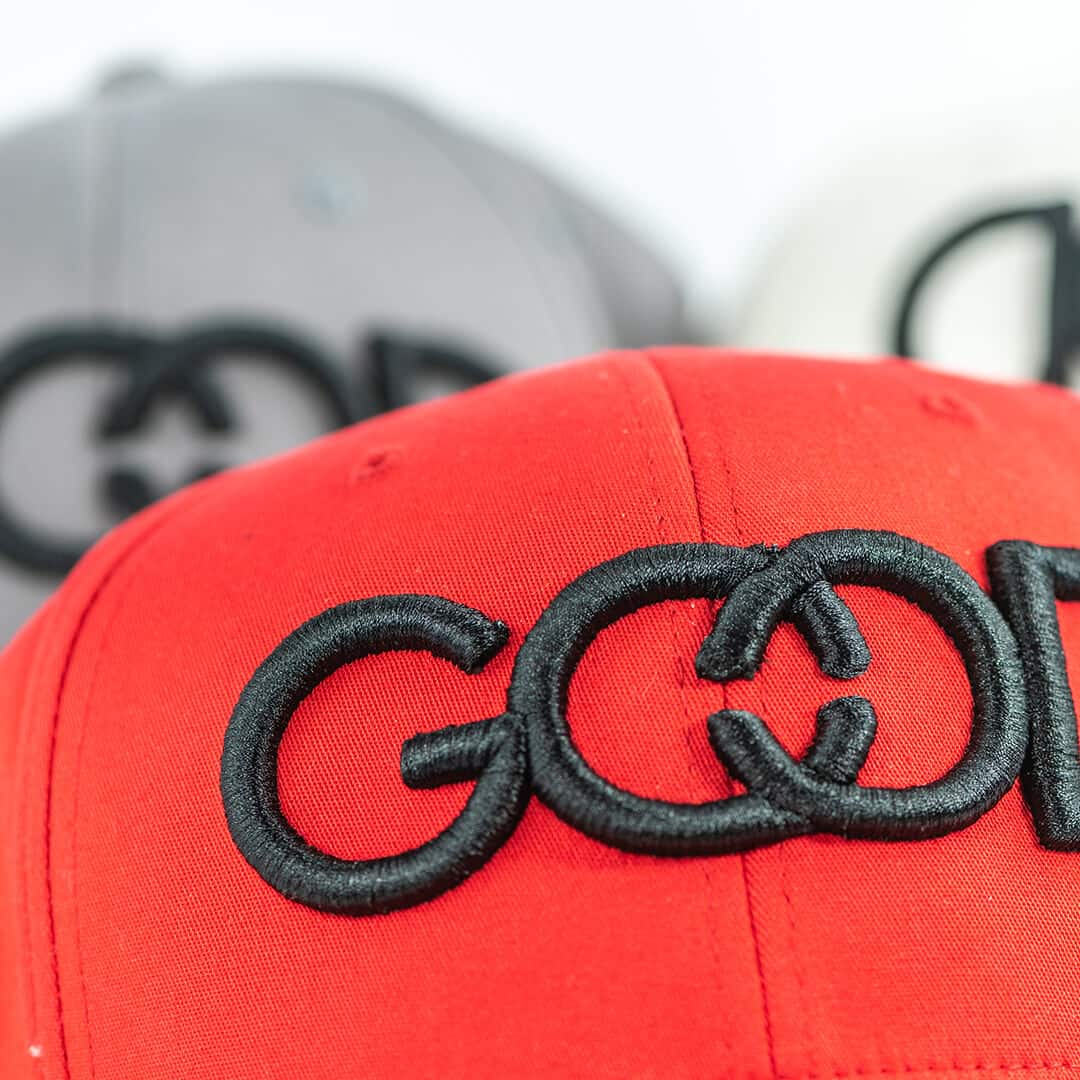
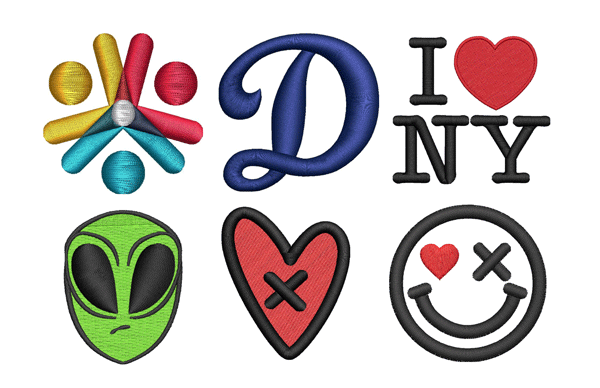
3d puff works well for designs that are wide and not very detailed. Here are a few examples of designs that work great for 3D puff:
- Bold Block Lettering – Thick, simple fonts work well, especially for caps and jackets. Examples include collegiate-style text, sports team names, and monograms.
- Simple Logos with Thick Outlines – Logos with wide, well-defined shapes, such as those seen in sportswear brands or corporate branding, translate well into 3D puff.
- Geometric Shapes – Designs that incorporate bold stars, shields, circles, or rectangles maintain their structure and dimension effectively.
- Minimalist Icons or Symbols – Small but bold symbols, such as arrows, crowns, or simple mascots, work well because they don’t require intricate stitching.
- Sports and Athletic Designs – Team logos, numbers on jerseys, and sports-related graphics (e.g., a baseball with bold stitching or a basketball outline) stand out with 3D puff.
How 3D Puff Differs from Traditional Embroidery
- Material Requirements: Puff embroidery requires specialized foam and a different digitizing approach to accommodate the raised design.
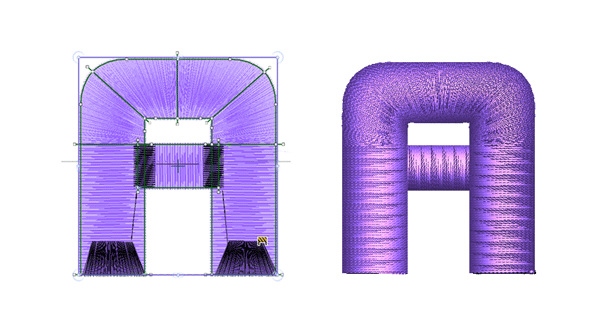
- Digitizing Differences: 3D puff designs need to be digitized specifically for 3D Puff. Files are prepared with special stitch densities, underlays, and cap stitching techniques to hold the foam in place.
Best Materials for 3D Puff Embroidery
Foam: High-quality embroidery foam in thicknesses of 2mm to 6mm, depending on the desired elevation.
- Thin Foam (1-2mm): Thin foam is used for more delicate 3D effects where you don’t want the design to be too bulky. This is great for smaller designs, logos, or creating subtle depth.
- Medium Foam (3-4mm): This thickness is commonly used for typical hat designs and other apparel where you want noticeable dimension but not extreme bulk
- Thick Foam (5mm+): For bold, pronounced 3D effects, thicker foam works best. This is often used for larger designs, especially on items like thick jackets or larger hats.
- Can I Use Craft Foam? Craft foam, which is typically found in craft stores, is usually made from EVA or similar materials, so it could work for simple projects. However, craft foam is often thinner and not as durable as commercial embroidery foam. It may also be more difficult to work with, especially if it’s not designed for machine embroidery. Using craft foam in machine embroidery can result in uneven stitching or potential issues with the machine, so it’s typically recommended to use foams designed specifically for embroidery purposes.
Thread: Strong, durable polyester or rayon thread that can handle the added friction from the foam. Fabric: Structured fabrics such as hats work best, as they provide a stable base for the raised design. Needles: Use a ball-point embroidery needle (75/11 or 80/12) to cleanly cut through the foam during stitching.
Techniques for Achieving a Clean, Raised Effect:
- Choose a foam color close to the thread color to avoid visibility in case of small gaps.
- Double-layer foam for extra height but ensure the design can support the thickness.
- Slow Down the Machine: Running at a moderate speed prevents thread breakage and ensures precision.
- Test on Scrap Fabric: Always run a test stitch-out to fine-tune settings before embroidering the final product.
- Clean Up Excess Foam: After completing the embroidery, remove any excess foam by carefully pulling it away with tweezers. To achieve a flawless finish, use a heat gun on a low setting—this helps the remaining foam shrink and disappear, ensuring a crisp, professional result.
Common Challenges and How to Overcome Them
Foam Showing Through Stitches:
- Make sure your foam is the SAME color as your thread to hide away any minor spots of foam showing through.
- Adjust tension to ensure the stitches lay smoothly over the foam.
- Use a heat-gun on a low setting a few inches away from the garment.
- Use tweezers to tuck in the smaller pieces of foam that stick out of your design. Tip: Never try to pull the small pieces of foam, tuck them inside.
Needle Breaks:
- Use high-quality thread and a sharp needle suited for 3D puff embroidery (75/11 or 80/12).
- Reduce machine speed to minimize friction and tension issues.
- If you are using a structured hat use a steamer or spray a little bit of water to help soften it.

Final Thoughts
Mastering 3D puff embroidery takes practice, but with the right materials, digitizing techniques, and machine settings, you can achieve stunning results. Whether you’re adding bold branding to hats or enhancing apparel with raised designs, 3D puff embroidery is a great way to create eye-catching, high-quality embroidery pieces. The key to achieving the perfect 3D puff design starts with expert digitizing. At PRO Digitizing, we specialize in precision digitizing services tailored for 3D puff embroidery. Our team ensures the right stitch density, underlays, and settings to help you get flawless results every time. Don’t waste time struggling with complex digitizing—let us handle it for you! Get in touch today and let’s bring your embroidery vision to life with professional digitizing that makes your designs stand out. Send us your design today! Looking for extra guidance? Watch our video on 3D puff embroidery to see step by step how to do 3D Puff!
