Embroidery Digitizing: A Step-by-Step Guide to Turning Your Design into Reality
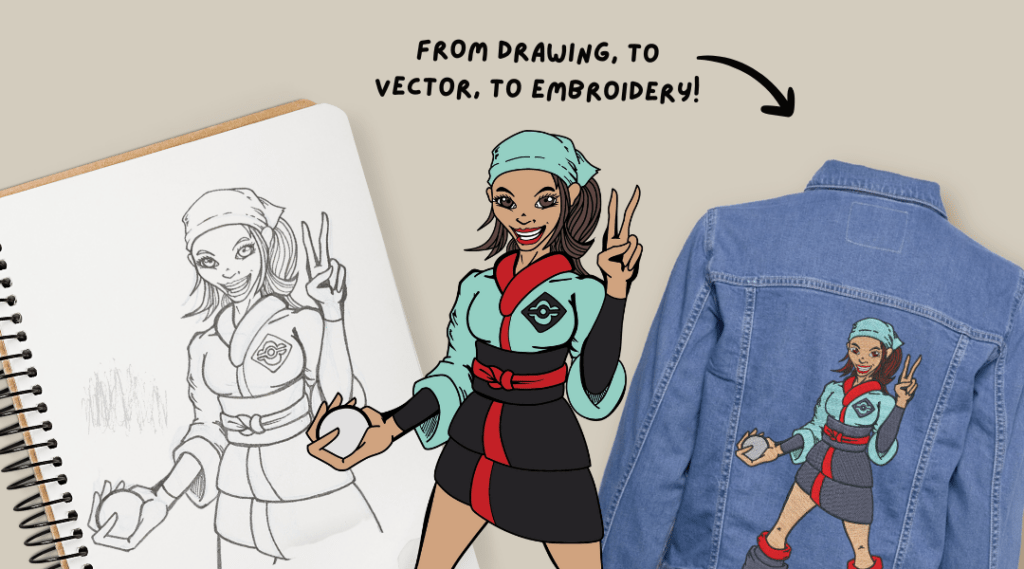
Our embroidery digitizing services make it easy to turn your logo, sketch, or concept into high-quality stitch-ready files. Whether you’re a small business or a hobbyist, we’ll help you bring your design to life. Do you catch yourself doodling while on the phone or sketching little figures to escape the busy day-to-day grind? Why not bring that imagination to life and turn your art into an embroidery piece you can add to a bag, a hat, or even a jacket? In this article, we will explain how we convert your sketches to embroidery using our vectoring services. Stay tuned for our step-by-step procedure for bringing your designs to life with embroidery!
Step 1: Creating an embroidery design starts with transforming your art into a vector format, allowing it to maintain quality at any size. Remember, though, your design’s complexity affects how it translates to embroidery. Highly detailed designs may not replicate accurately due to embroidery’s constraints. Therefore, simplicity is crucial. Choosing a simpler design that captures your art’s essence ensures your vision is clearly conveyed, even when rendered in thread.
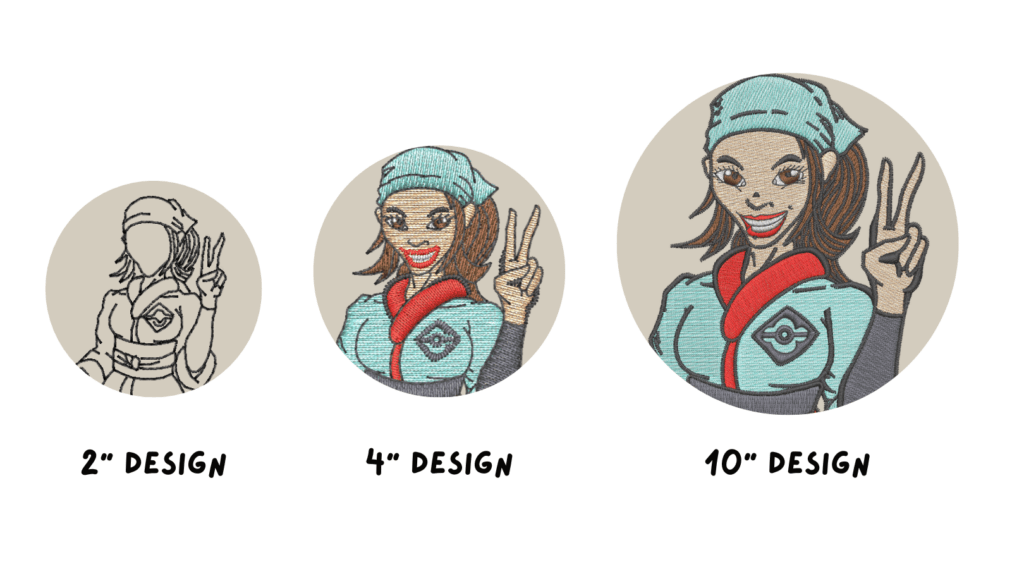
Step 2: Got your vector file? Great! Now we’ll digitize it for embroidery. This means using software to convert your design into a stitch guide for your embroidery machine. Keep in mind, some small details or specific colors might not perfectly translate because embroidery is a bit different from printing. Also, for smaller designs, like for caps or pockets, details will need to be simplified for the best result.
Step 3: Mastering Embroidery: Your Six Steps to Flawless Stitching!
- Prepare Materials: Gather machine, threads, fabric, hoop, and the right needle.
- Load Design: Transfer digitized design to the machine, using USB, cable, or wireless.
- Set Up Machine: Install hoop with fabric. Thread machine with first color.
- Start Embroidering: Follow digitized design, change thread colors as needed.
- Monitor Process: Watch for issues like thread breaks or jams.
- Finishing Up: Remove hoop, trim excess thread, and press finished piece.

Troubleshooting Tips:
- Check Thread Tension: Incorrect thread tension is a common problem. If stitches are too loose or too tight, adjust the tension accordingly.
- Clean the Machine: Regular cleaning can prevent many issues. Dust and lint can accumulate and cause jams or poor stitch quality.
- Re-thread the Machine: If the machine is behaving strangely, try re-threading it. Incorrect threading can cause a variety of problems.
- Change the Needle: A bent or dull needle can cause thread breaks, skipped stitches, or damage to the fabric. Make sure to replace the needle regularly and choose the right type for your fabric and thread.
- Check the Bobbin: Make sure the bobbin is properly wound and installed correctly. A poorly wound bobbin can cause thread jams and uneven stitching.
- Stabilize Your Fabric: If your fabric is puckering, you may need to use a stabilizer to keep it taut and prevent movement during stitching.
- Check Your Software: If your machine is not properly executing designs, there may be an issue with the digitized file or the software.
- Ensure Proper Hooping: Improper hooping can cause fabric puckering or uneven stitching. Make sure your fabric is securely and evenly hooped before starting.
- Inspect Thread Quality: Poor quality thread can cause frequent thread breaks and poor stitch quality. Use high-quality thread for the best results.
- Check Power Supply: Make sure your machine is getting a steady power supply. Fluctuations in power can cause the machine to behave erratically.
Embroidery Placement Ideas for Your Digitized Designs
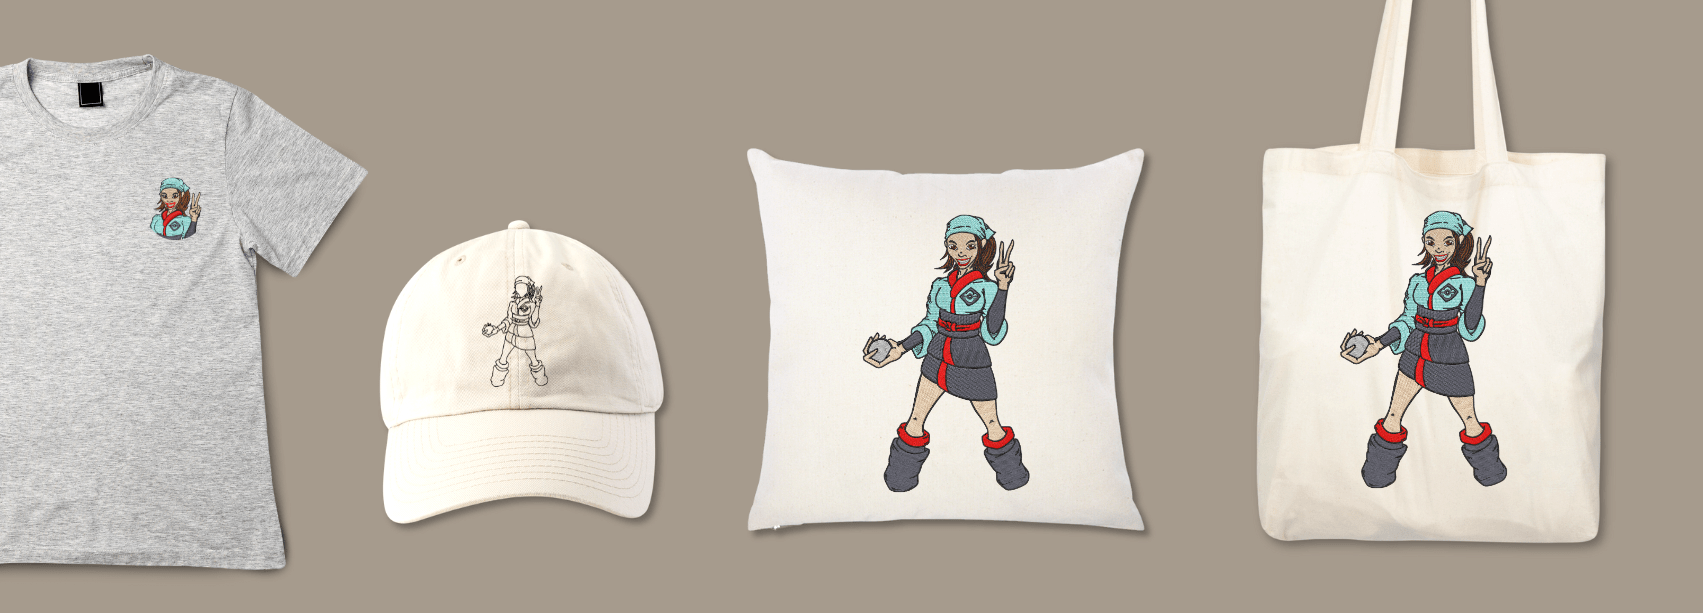
- T-Shirts: T-shirts are a popular item for displaying embroidered designs. They offer a large and versatile canvas that’s perfect for showcasing your creative work. Plus, who doesn’t love a personalized t-shirt?
- Tote Bags: With the push for reusable shopping bags, embroidered tote bags are both trendy and practical. Your design could turn a simple bag into a fashionable accessory.
- Hats and Caps: Headwear is always in demand, and an embroidered hat or cap could be just the unique item that sets your designs apart. It’s a perfect way to make your design stand out in a crowd.
- Towels: Consider embroidering your designs onto towels for a touch of luxury. Personalized, embroidered towels can be a unique item in home decor or a thoughtful gift.
- Pillows and Cushion Covers: Home decor is another great avenue to explore. Pillows and cushion covers with embroidered designs can add a personal and cozy touch to any living space, making them an attractive option for customers looking to spruce up their homes.

How Embroidery Digitizing Brings Your Artwork to Life
And there you have it, friends! Turning your beautiful artwork into an embroidery design is truly an exciting journey. With embroidery digitizing, you take the charm of traditional art and transform it into something tangible and tactile. Sure, the process takes a bit of time and patience, but the results? Absolutely worth it. In the end, you’re left with a unique, touchable piece that breathes new life into your original design. Whether you’re dreaming up personalized clothing, stylish accessories, or eye-catching home décor, embroidery digitizing opens up a whole new world of artistic expression. So go ahead — embrace the process, and cherish every stitch you make. Your creative canvas is ready to be threaded with bold ideas and joyful energy.
Whether you’re working from a hand-drawn sketch, a digital concept, or just an idea in your head, embroidery digitizing makes it possible to turn that vision into stitched reality. At PRO Digitizing, we’re here to guide you every step of the way — from concept to flawless file. Our expert digitizers handle every detail with precision and care, so you can focus on creating designs that truly stand out. Ready to bring your artwork to life? Let’s start stitching your next masterpiece today! Request a quick quote.
PRO TIP: Start with Simple Designs! When you’re just starting, it’s essential to keep your designs simple. Complex designs with intricate details can be challenging for beginners. Begin with basic shapes, letters, or small motifs that don’t require too many thread color changes or intricate stitching. As you gain confidence and experience, you can gradually work your way up to more intricate designs.
